Shirt tails

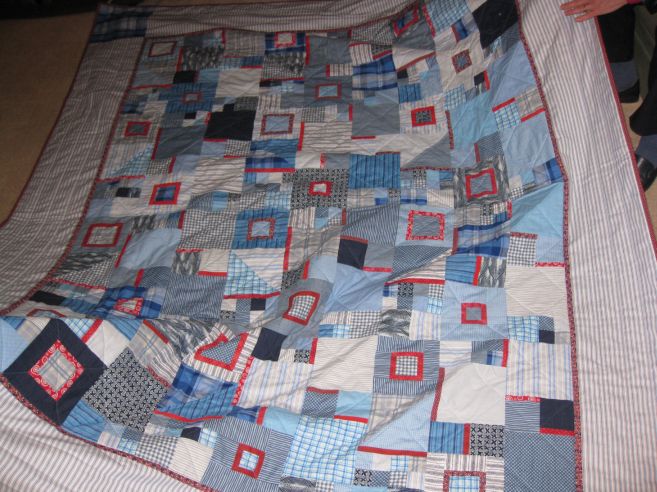
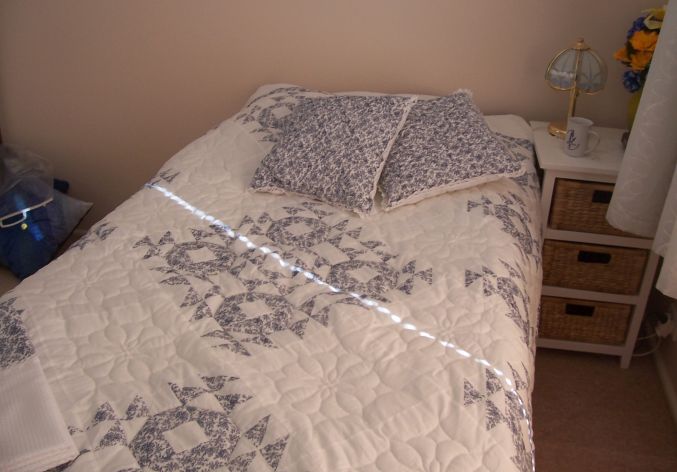
This one was a 21st birthday gift to my nephew, Daniel, and he chose the design. It was a fun one to make. I also made two large cushions, fastened with blue antique buttons originally belonging to my mother (his grandmother). The buttons may even be older than that. Unfortunately I don’t have more photos at the moment, but will take some more next time I see it.

Button projects

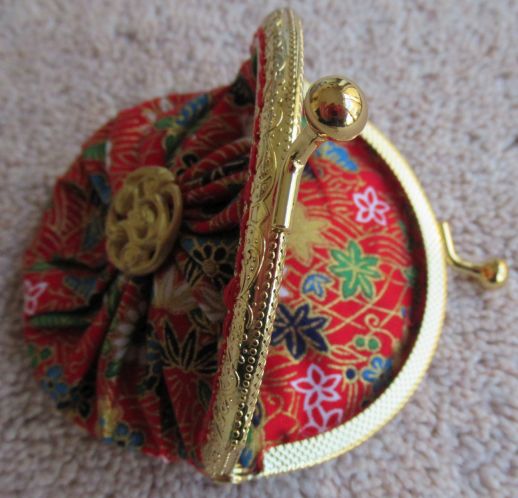
I have a lot of buttons. They will never be used up in my lifetime – a fact that became all too obvious when I inherited my late mother’s button box (she failed to use up hers, too), which nearly doubled my own collection. Some are antiques, some are just pretty and others asked me to group them together somehow (for example, the ‘button bowl’) for a massed effect. Many of them were used as centres for fabric flowers, thereby using up two classes of leftovers..Pin-wheels with a central button make lovely flowers and also use up small scraps of fabric. Pin-wheels are also useful for decorating shopping bags or other items. Using pairs of large identical pinwheels and bought clasps, I was able to make four pretty coin purses. Here they are, in no particular order or hierarchy:

Rope bowls

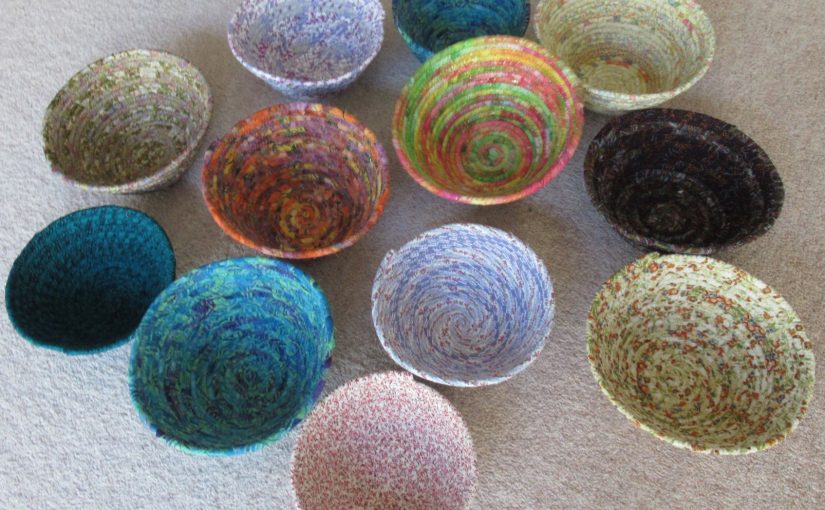
These were made from strips of leftover fabrics, many of which had been used in quilts. Others were one-off acquisitions of fabrics I liked but never found a project for. The fabrics were cut into strips and arranged length-to-length, and wound around cording bought from Bunnings. Then each long covered rope was sewed round flat for the bottom then tipped on an angle for the sides. Here are just some of them:

Red Dust bedspread

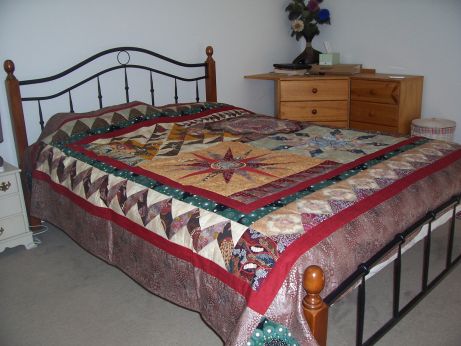
This one was for my daughter, Viv, who liked the picture I showed her. It was inspired from a Hobbysew Block-of-the-month designed by Chris Jurd, but I used different fabrics (mostly Aboriginal designs). I also made modifications to the original pattern, partly to ‘fussy cut’ and showcase the lovely motifs on some of the fabrics; and partly to make life easier, having been confronted by my evident limitations during the Moonglow quilt project. I enjoyed the ‘cheekiness’ of fussy cutting the three goannas chasing each other along one of the borders. As with the Moonglow quilt, this pattern was too small, so I enlarged it and added more borders. This is possibly the best-constructed quilt I have ever made. I made a colourwash quilt from some of the leftover fabrics (see Wall hangings tab) and a two-sided doily for Viv’s bedside table (shown here). And I made yet another wall hanging from the ‘leftover leftovers’.

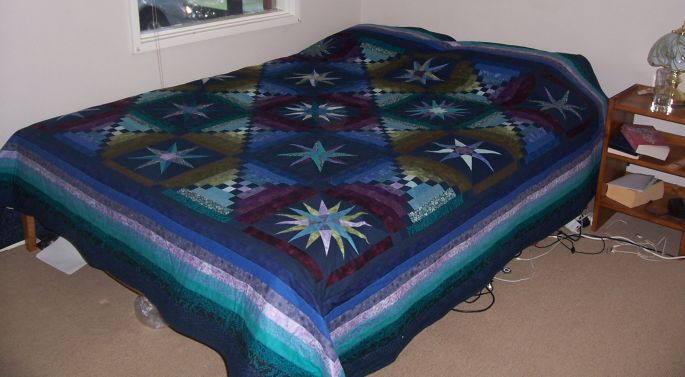
Moonglow bedspread

My daughter, Bec, selected this design. It looked gorgeous, and it was – but also fiendishly difficult. The more complex star squares were beyond my capabilities, so I doubled-up on some of the easier ones. It was a bit too small for a queen-sized bed, so I added some borders, which I also think enhanced the design. I was pleased with the result, but now think I could have done a better job.

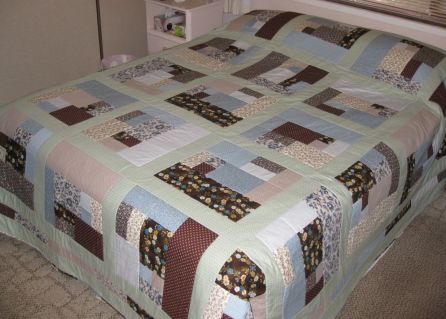
Choc mint slice bedspread

As noted above, after the tragic demise of the silk bedspread, I needed to make a new quilt for our queen-sized bed. I had been looking for an excuse to make this one, because of its fresh, crisp colours. Apart from its sheer size, it was relatively easy to construct and quilt. Some of the fabrics were lovely Laura Ashley prints from the 1980s, that were leftovers from a quilt my mother made for herself.

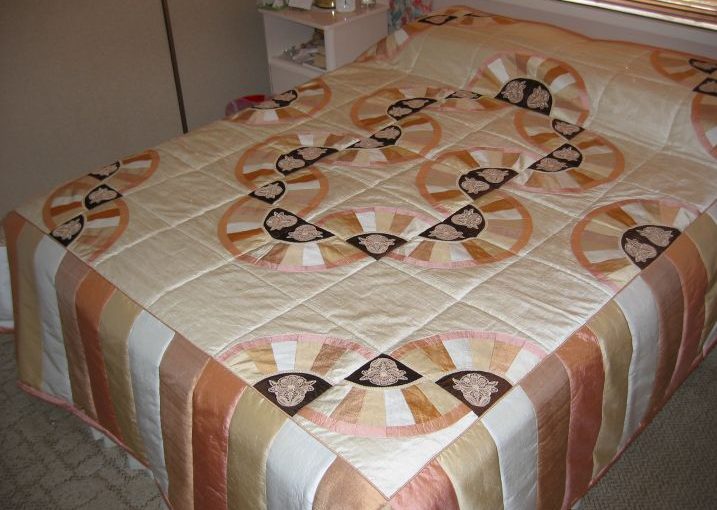
Silk bedspread

I loved this quilt once it was finished, because of the shiny texture, the colours and its look of the Art Deco style. The top was pieced from Dupion silk of various plain colours of soft pinks and browns on a cream background. It was difficult to make because of its size and the insertion of piping (which I made myself) around the edge of the main part. It was very slippery and difficult to control, too. I also made the lace embroideries of dragonflies, which were sewn directly onto the chocolate-coloured quarter-circle pieces. The quilt was also problematic once completed, because I had chosen a bubbly satin backing. So it kept slipping off the bed. Even worse – the silk was too fragile and eventually frayed (an expensive mistake). However, it was really beautiful for the 6 or 7 years it lasted, and despite everything, I remain proud of it. On the positive side, I learned quite a few lessons. I replaced it with the ‘Choc mint quilt’ (displayed below) in 2015.

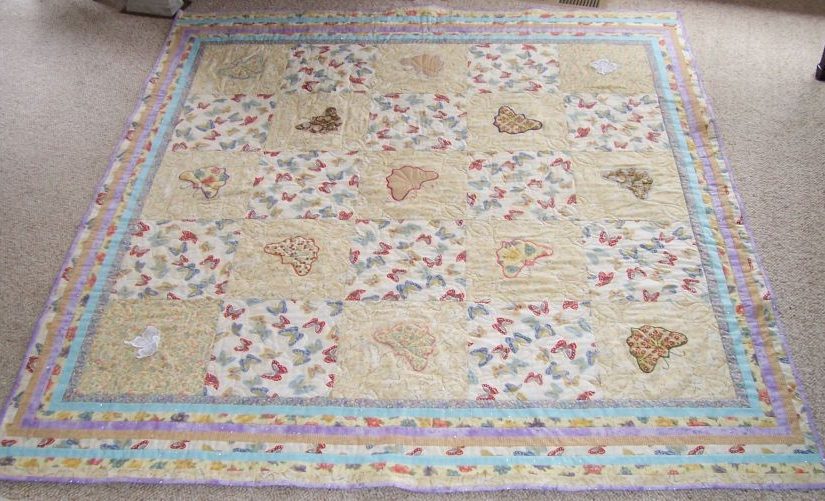
Butterfly quilt

I made this one just because I wanted to, but I’m not sure what to do with it as there are no little girls in my family any more.

I had some lovely ‘sparkly’ fabrics in small amounts, and decided to use my embroidery machine to appliqué large butterflies. I designed and digitised the appliqué pattern myself, and each one was sewn directly onto a plainer fabric (also shiny). They were made slightly ‘puffy’ by including a layer of very thin, fusible vilene wadding in-between. This was very effective, but it made it a bit awkward later at the quilting stage.

For the alternate squares I bought a pretty butterfly fabric – except for two of the corners, where one of the original fabrics was used, and a machine-embroidered lace butterfly attached. For the backing I chose another pretty butterfly fabric, with larger butterflies. I was able to match the pattern when joining the seam – so it looks like one large piece.

Using the remaining fabrics, including some not used on the central piece, I added six one-inch borders, and the binding.

As mentioned above, the actual quilting was tricky, because I didn’t want to spoil the appliquéd butterflies – they needed to stand out. So I used a template to place stand-alone stylised flower motifs on the corners of the squares (missing the appliqués), and a smaller motif on each of the squares without the appliquéd butterflies, and quilted them – a difficult task for me, as I’m not very skilled at free-motion quilting. But hey, sometimes you’ve just got to dive right in and do these things, don’t you? I am reasonably happy with the result, and am hoping that my next try at free-motion quilting will be an improvement – or at least easier.